How to Investigate a Failed Verification Step
If a verification step fails, the data collected during that step may still be available in the Applicant profile, even if the step was not successfully completed.
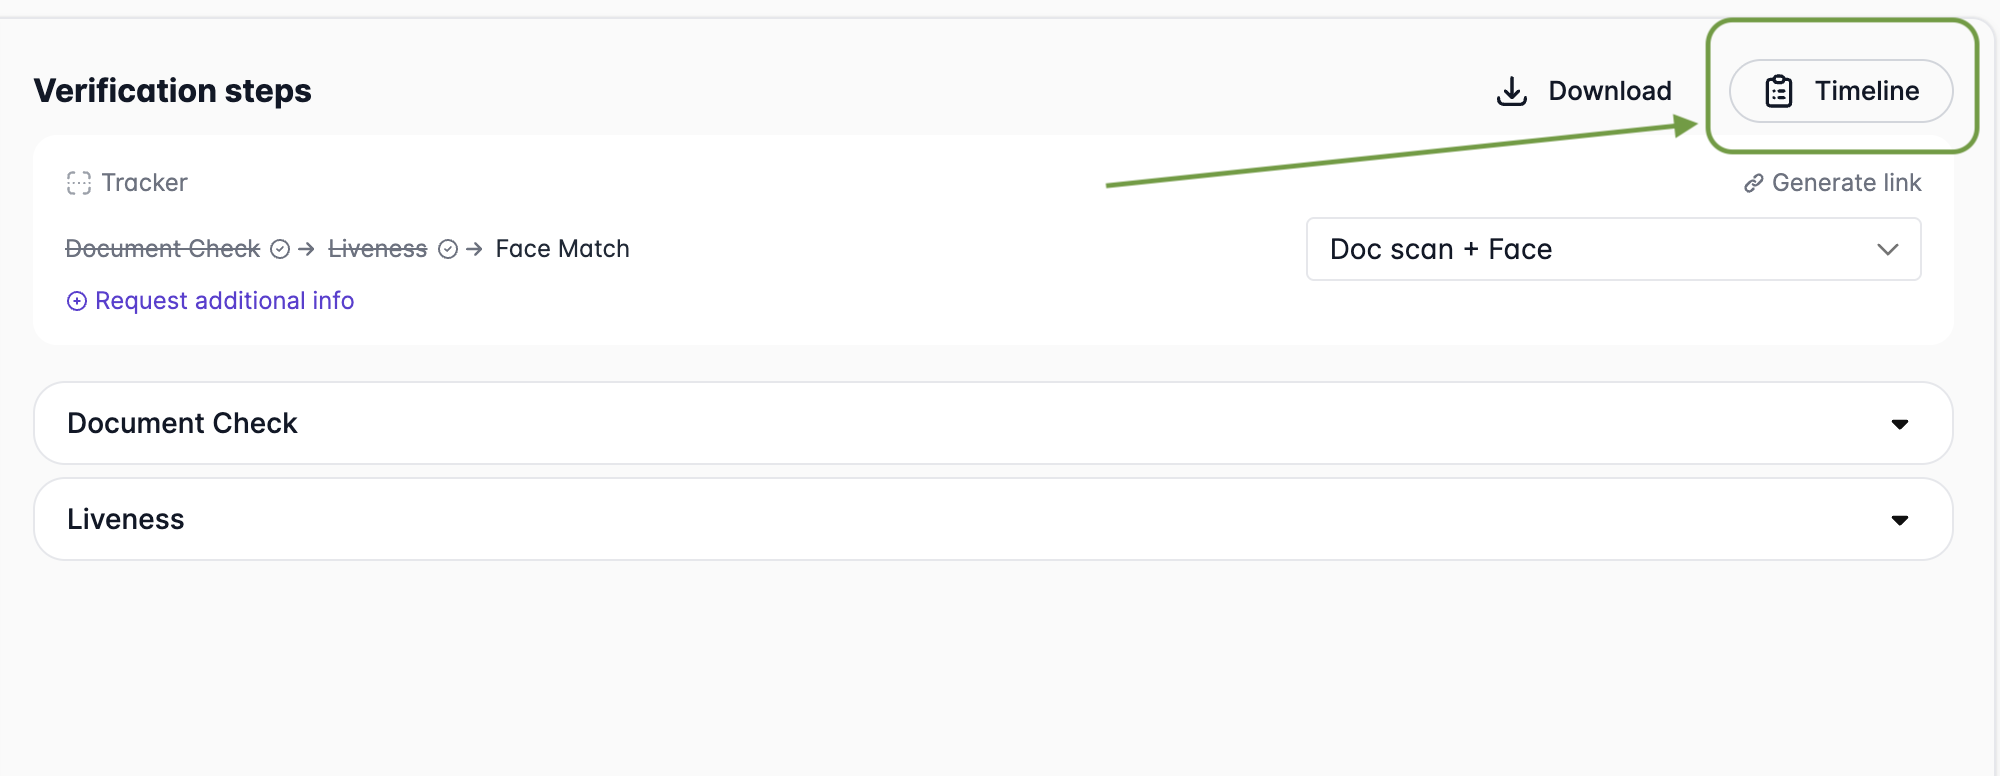
To investigate the issue, check the Timeline and the History section of the relevant verification step.
1. Check the Timeline
Open the Applicant profile and review the Timeline to find logs related to the failed verification step.
The Timeline contains information about the verification process and helps you identify what went wrong.
2. Check the History of the Verification Step
The data collected during a failed step is stored under the History button within the corresponding verification step block in the Applicant profile.
To find it:
- Locate the block of the step that failed, such as Document Check, Liveness, or another verification step.
- Look for the History button at the bottom of the block, below the instructions for continuing the applicant's verification.
- Click History to access the data collected during the failed attempt.
Important: The History button may be easy to overlook. Even if a verification step was not completed successfully, check its History before concluding that the collected data is unavailable.
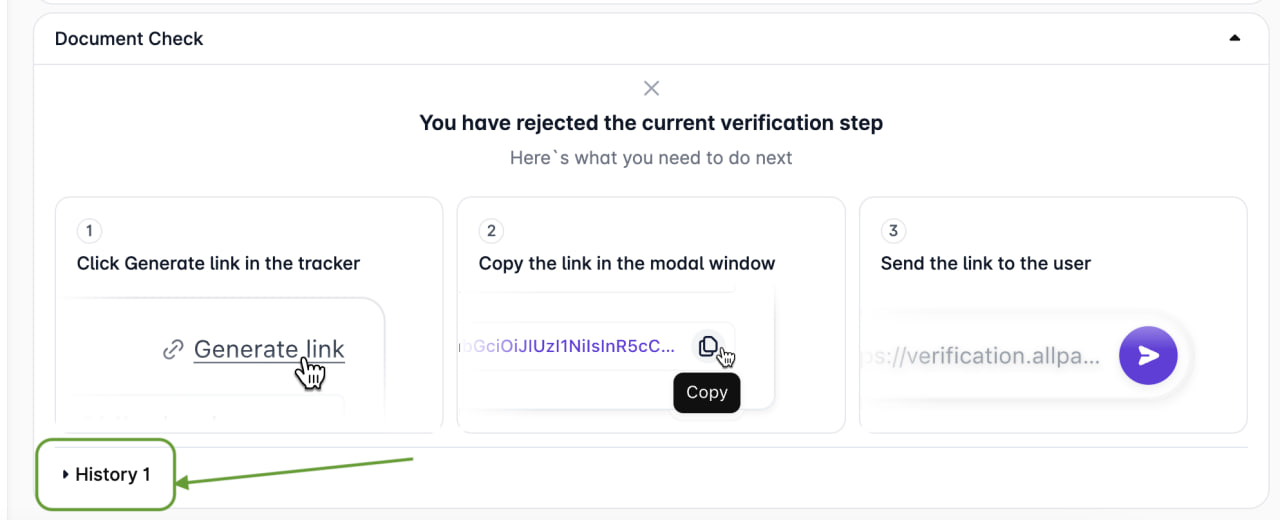
The verification step's History contains data from previous attempts.
If a step fails, click History to check whether the collected data is available. Review the Timeline for error details.
Recommended Troubleshooting Steps
If a verification step fails or the collected data appears to be missing:
- Review the Timeline to identify errors or issues during the verification process.
- Open the step's History to inspect the data collected during the failed attempt.
- Use both sources together to understand what happened and determine the next steps.